
DITRA-HEAT-E
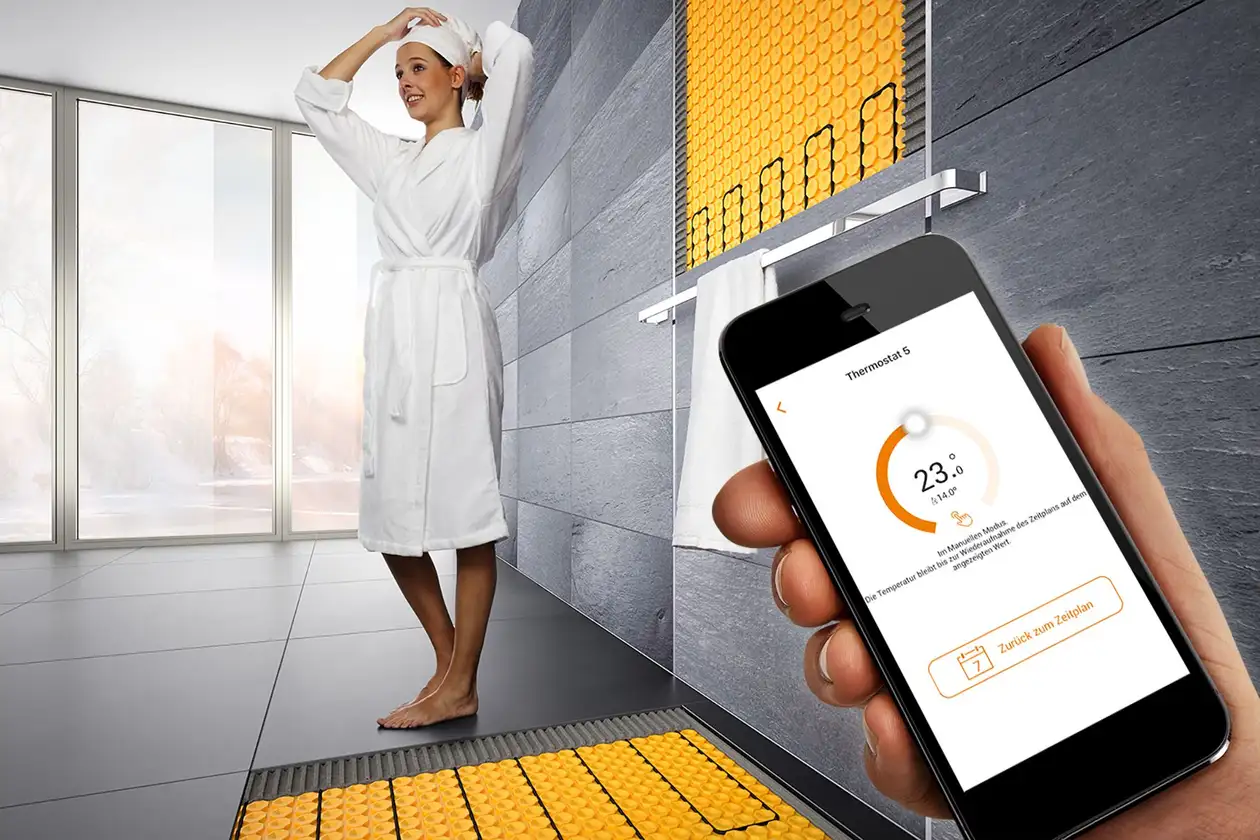
The electric floor and wall heating system Schlüter-DITRA-HEAT-E accommodates uncoupling and heating system functions in a total assembly height of just 5.5 mm – an ideal fit for warm tiles in bathrooms!
Where humidity meets heat, mould quickly develops – this is especially true in the bathroom. Prevention with three simple steps will help put you on the safe side, keep your bathroom looking fresh and safe to use.

Condensation build-up on walls, ceilings and fittings increases the risk of mould growth in bathrooms which is no surprise. Together with the unavoidably high humidity in the bathroom and any leaking silicone joints in the wet area, this creates conditions that are almost a paradise for the growth of harmful spores. The good news: mould growth can be prevented! Following three important steps will keep the shower, joints and walls in the bathroom free of mould over the long-term.
The conditions of use in the bathroom mean that it is predisposed for the development of mould spores, as the warm and humid environment creates ideal conditions for growth. But once the mould has spread, it is difficult to curb its growth and clean infested material effectively and permanently – if it can be saved at all. Prevention is especially important to ensure lasting bathroom hygiene and therefore also the longevity of the materials. So that your personal oasis of well-being does not become a haven for mould, it is advisable to keep a close eye on a few areas and clean them proactively:
Prevention is the best strategy for stopping mould from developing in the bathroom in the first place – and it really is very simple! When it comes down to it, three simple routine measures are all it takes to prevent mould infestation: correct ventilation, correct heating and thorough drying. When used together, they reduce the humidity in the bathroom far enough to create a constantly hygienic room climate so that mould can no longer grow.
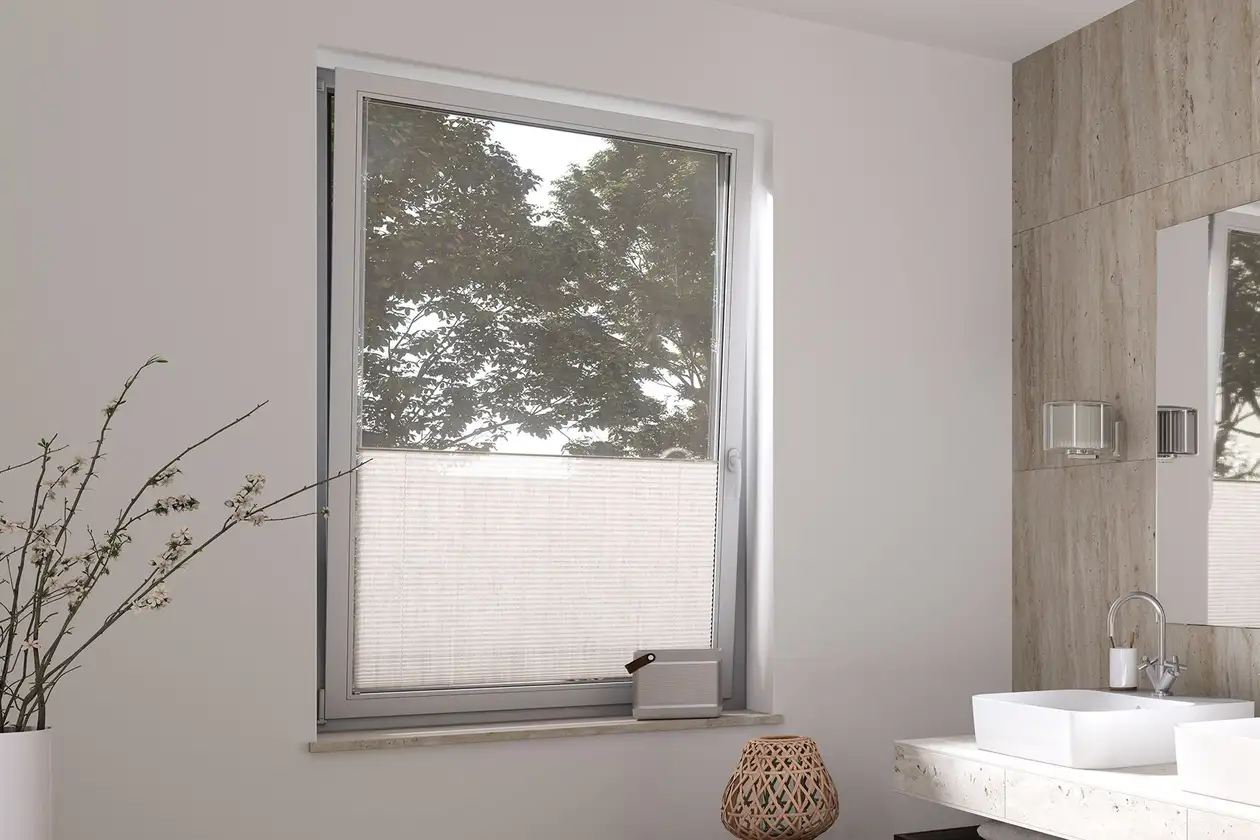
Ventilation results in the exchange of air and is therefore the most important measure for maintaining room hygiene in your bathroom. The principle is very simple: Fresh air in, damp air out! The water vapour can easily escape from the room through the open window – especially after showering or bathing – instead of condensing on the cold surfaces. In windowless bathrooms, air extraction systems such as electric ventilators and room fans can help. Both measures reduce the moisture content in the air and, as a result, deprive mould of the necessary conditions for growth.
To keep your wet area free of mould in the long term, follow three simple steps:
Make a habit of providing forced ventilation several times a day, especially after showering or bathing, as when the window is wide open, the warm, moist air is replaced by colder, dry air within 5 to 10 minutes. Keep the door closed during ventilation so that the moist air is actually discharged to the outside and not into the living area. Establishing forced ventilation as the final part of your shower routine is already an effective way of combating mould.
But remember, simply opening the window for a few minutes does not have the same effect as forced ventilation. However, there is still moisture in the bathroom even after showering, which evaporates more slowly – in your towels, for instance. That's why it is advisable to combine forced ventilation with tilting the window open. In the winter, however, make sure you do not leave the windows tilted open for too long in order to avoid unnecessary energy loss.
Check the humidity in your bathroom using a hygrometer. Models for indoor use measure the room temperature at the same time – so you can easily keep an eye on both these factors and take countermeasures if necessary. When showering, the relative humidity can rise to 70%, but, depending on the type of building, insulation and room temperature, it should not exceed 40–60% as a constant daily average.
Fungal colonies in the bathroom are not only unattractive evidence of high levels of moisture and a lack of hygiene, but also a health risk that needs to be taken seriously. If the microscopically small spores circulate in the moist warmth of the bathroom air, they can also enter the airways – and trigger respiratory problems, especially in allergy sufferers, asthmatics or immunocompromised persons. But even healthy people without previous medical conditions can have their immune system provoked by constant exposure to mould spores. Typical, but often non-specific symptoms can also include skin and eye irritations, rashes, headaches, circulatory problems or exhaustion as well as breathing problems.
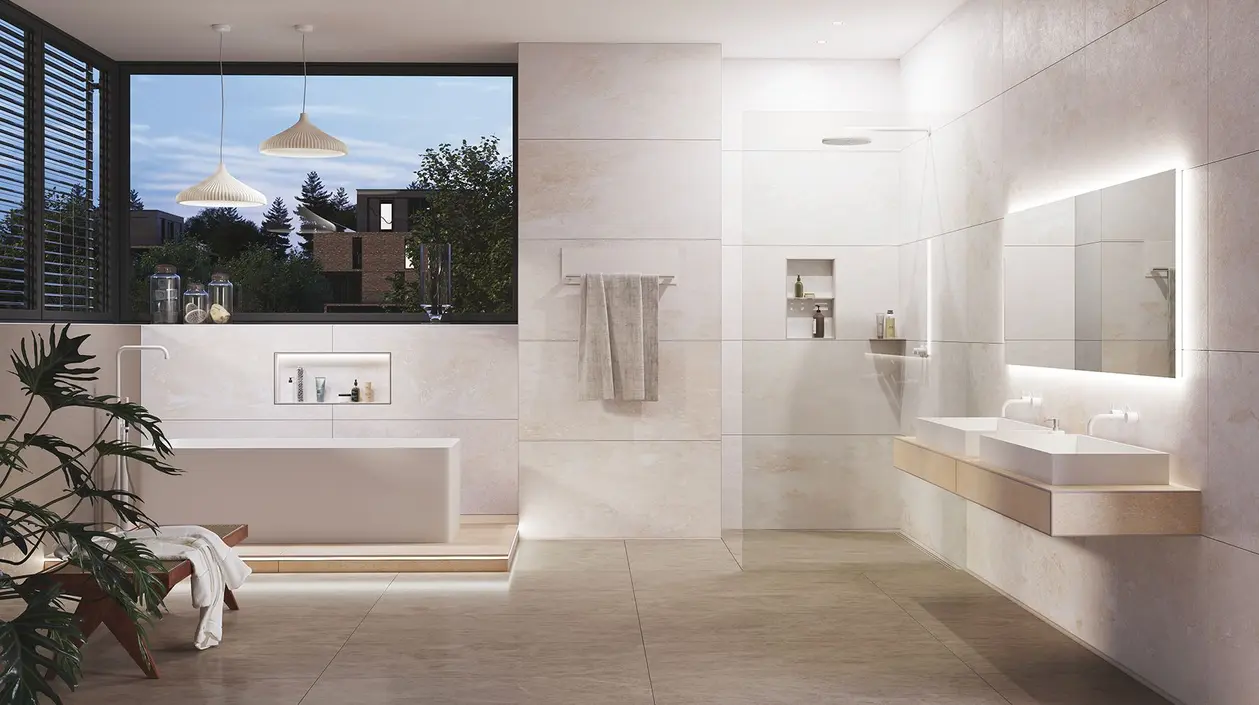
The correct heating of bathrooms not only plays an important role for reasons of energy and cost efficiency, but also to prevent mould in wet areas. Because: Warm air can absorb more moisture than cold air, which is why correspondingly less water vapour from the air condenses on the surfaces at the right temperature. The generally recommended room temperature in the bathroom is thus between 22 and 24 °C – and offers not just pleasant warmth and comfort, but also aids the evaporation of the moisture that occurs.
If a floor heating system is installed in the bathroom, even heat distribution throughout the entire room is also beneficial for mould prevention, as there are no cold zones. Electric heating systems, such as Schlüter-DITRA-HEAT-E, can also be installed on the wall directly under the tiles – even in wet areas. The advantage is clear: The rapid heating of the shower surface leads to quick drying and effectively prevents the growth of mould.

The warmer temperatures in the bathroom speed up the evaporation of water, which leads to a constantly higher level of humidity than in other rooms. If warm, humid air now makes contact with cooler surfaces, condensed water vapour gathers on tiles, fittings, mirrors and window panes. Especially after showering, moisture remains on walls, curtains and in joints – so after each use, wipe your wet areas dry by hand in addition to the regular bathroom cleaning schedule to prevent mould in the shower. Wiping off or drying the surfaces reduces the residual moisture and acts directly against the threat of mould infestation caused by moisture. This also prevents long-term material damage – such as the swelling of wallpaper, plaster or wooden elements. Because the basic rule is: if water is effectively drained away, it cannot penetrate into materials or building fabrics, neither via the air nor via the surface!
Joints are the intermediate spaces between the individual elements of a floor covering, which are created when installing tiles, natural stone or fine stoneware coverings, for instance, and are usually closed with grout. They are used to compensate for dimensional differences of the floor coverings, eliminate the slightest tensions and create a closed surface. The width of the joints can vary depending on the specific design and tile format.
Tiles, screed and even concrete constantly undergo changes in shape which are caused, for example, by changing loads, changes in moisture content or temperature fluctuations. These combined movements can lead to stress cracks or distortions. And this is exactly where movement joints are used: They act as a buffer to compensate for changes in shape and prevent any damage to the floor covering.
The silicone joints typically used in the shower are connection or movement joints that compensate for the movement of the installed floor covering because of their elastic properties. The intense conditions of use in the bathroom mean that they have to work around the clock, as higher temperatures inevitably lead to more significant changes in shape. The elasticity of silicone is, however, limited to approx. 20% – an expansion joint that is 1 cm wide can expand by just 2 mm without damage; if the joint is subject to higher loads, the silicone joint would tear off and need to be replaced. On top of this, silicone only has limited fungicidal and antibacterial resistance. Joints filled with silicone are therefore also referred to as maintenance joints.
If these use- and material-related factors are now joined by deposits of soap residues, organic substances like skin particles or corrosive cleaning agents, this creates an ideal breeding ground for mould in joints – the second main reason for regularly replacing silicone joints. As an alternative to silicone, however, maintenance-free expansion joint profiles can also be installed, which consist of components that move against one another, have a highly elastic soft zone and are conventionally grouted as part of the covering grouting process. They can neither tear off nor become mouldy – and this makes them absolutely maintenance-free.

In commercial kitchens and swimming pools, the installation of expansion joint profiles at corners of internal walls or wall-to-floor transitions is often standard due to hygiene requirements – but in private residential construction, it still receives relatively little attention. Wrongly so, because profiles such as Schlüter-DILEX-EF are unbeatable when it comes to understated, low-maintenance internal wall corners. Compared to silicone joints, they make transitions in tiled rooms completely maintenance-free and almost invisible.
Depending on the design, the materials are resistant to fungi and bacteria – this makes mould in expansion joints a thing of the past. The profiles are suitable for all non-floating coverings, are installed in the adhesive bed under the tile covering and are flush with the tile edge. This is not only functional and durable, but also harmonises perfectly with your bathroom design.
Ventilate as and when necessary: Several times a day and especially after showering or bathing – as well as in between, because your bathroom textiles dry more slowly.
Leave the shower cubicle open: Make a habit of keeping the door to your shower open so that moist air circulates better and moisture can dry off more quickly.
Wipe wet areas dry: The less moisture there is in your bathroom, the lower the risk of mould growth.
Heat correctly: Maintain a room temperature of 22 to 24 °C in the bathroom and use an electric radiant panel heating system in the wet areas wherever possible.
Use a hygrometer: The measuring device indicates when the relative humidity in the bathroom is too high and needs to be ventilated again.
Do not hang up laundry: Refrain from drying your laundry in the bathroom – even if it is quicker there due to the room temperature.
Use a dehumidifier: Especially in windowless bathrooms, small dehumidifiers, such as salt-based ones, can be a useful accessory.
Minimise joints: When planning a bathroom, try to avoid maintenance joints and reduce the number of joints by using large tile formats. Jointless bathrooms are also possible.

