Schlüter-KERDI-LINE-B  Grate and frame combination in SQUARE design

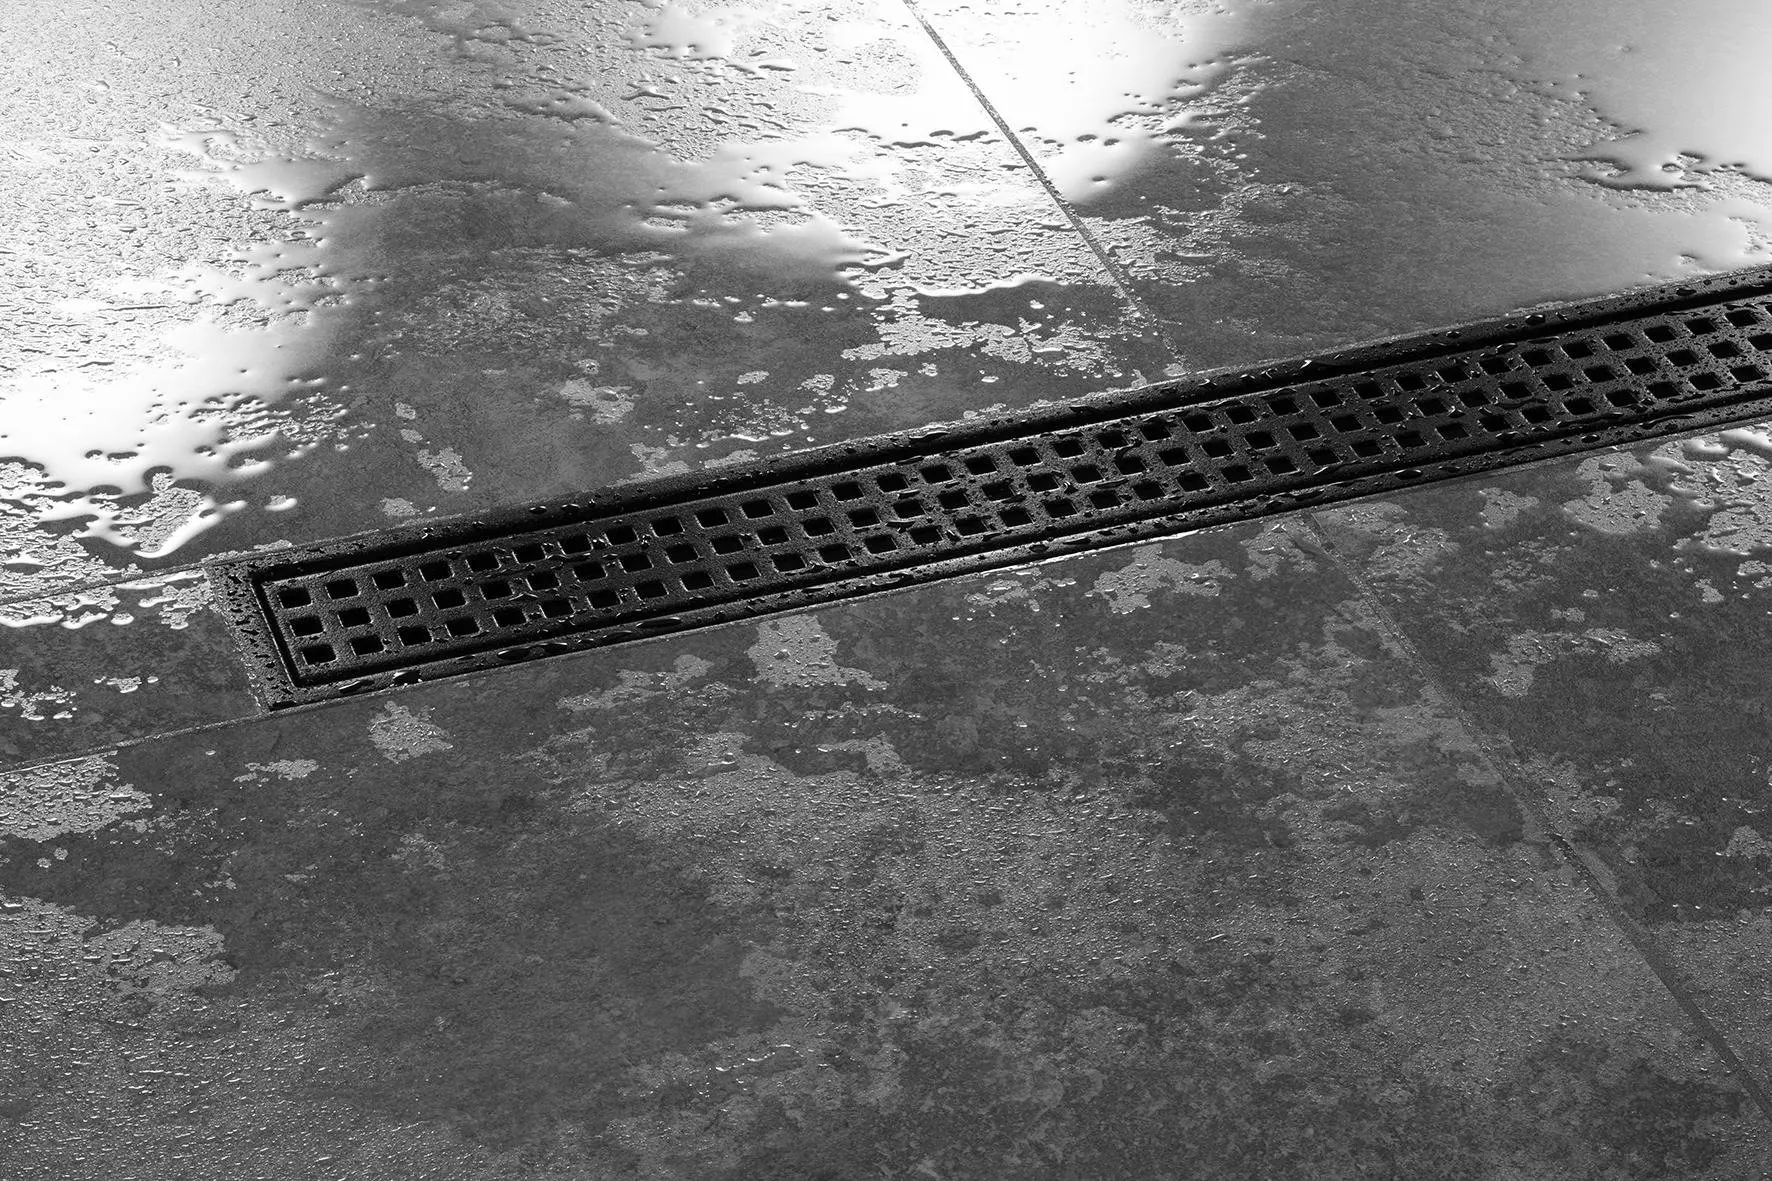
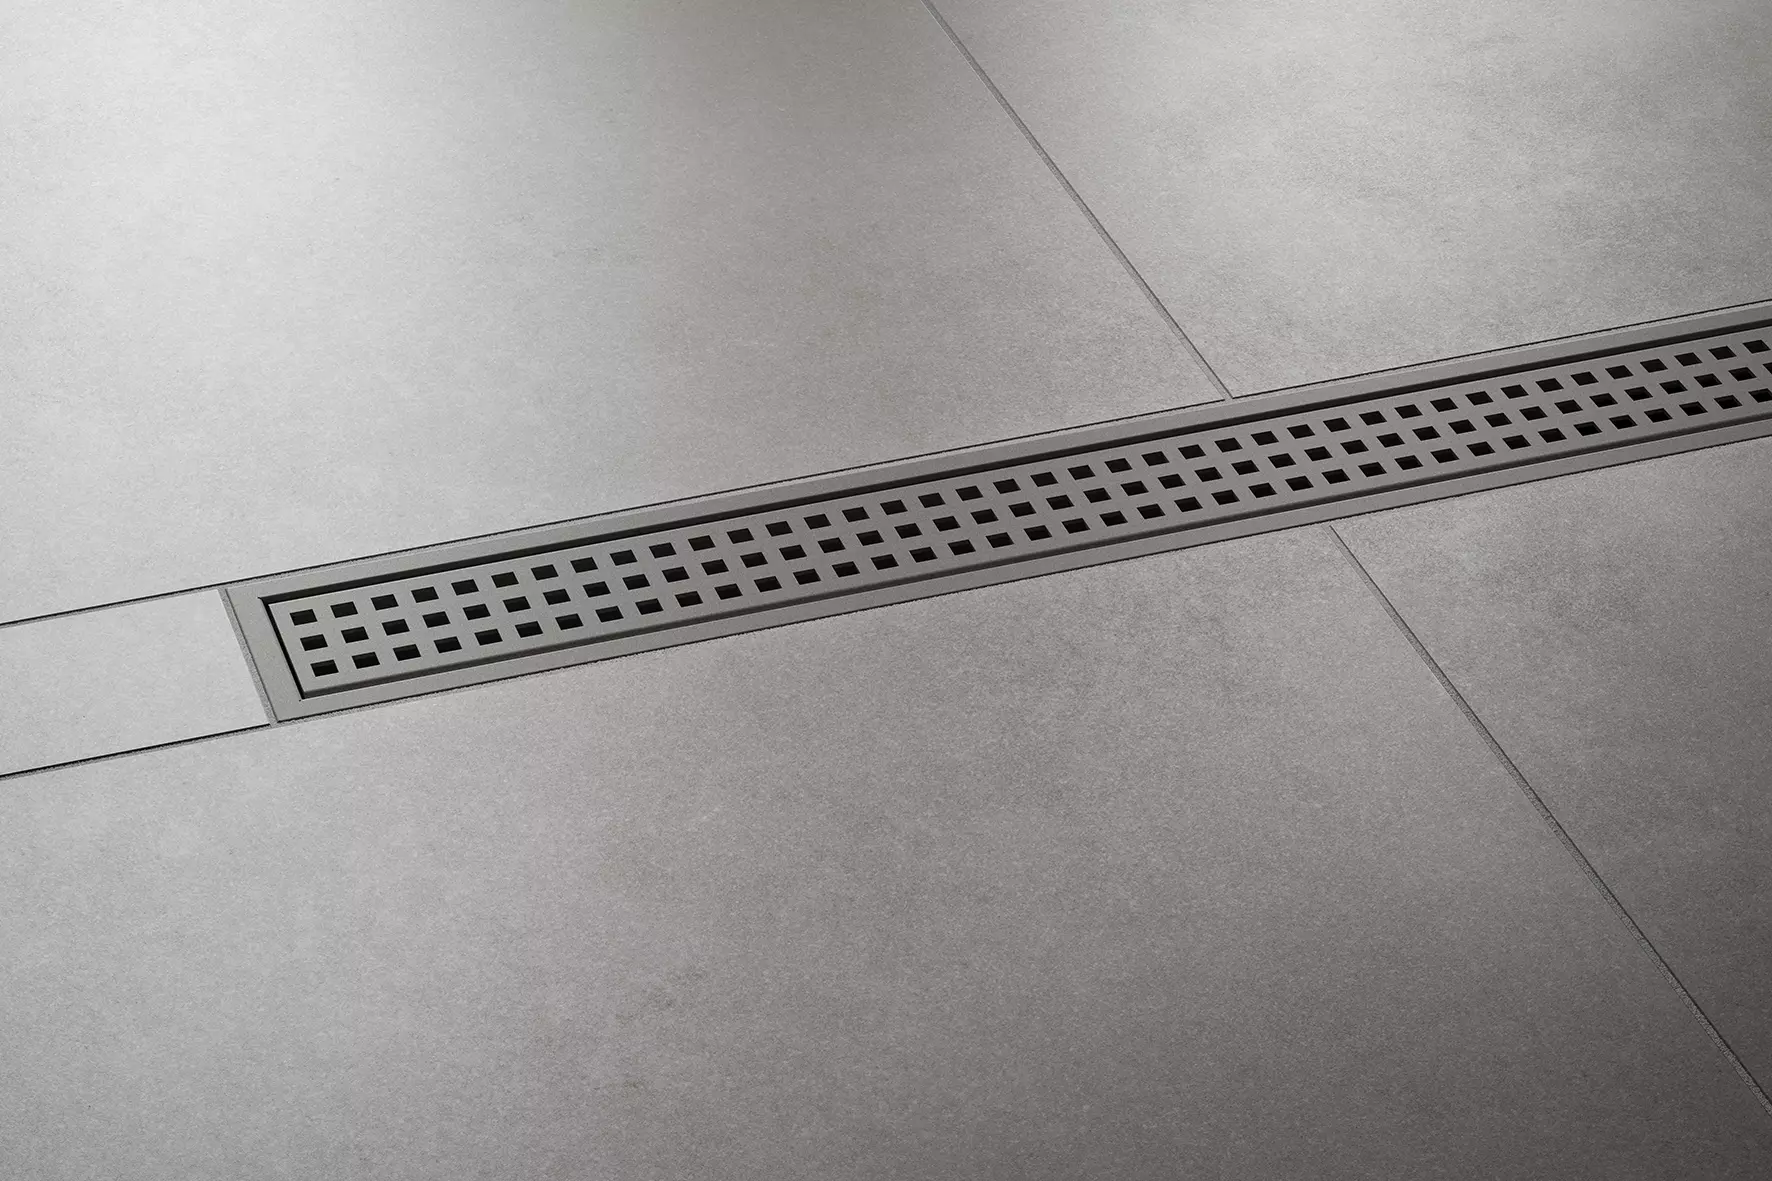
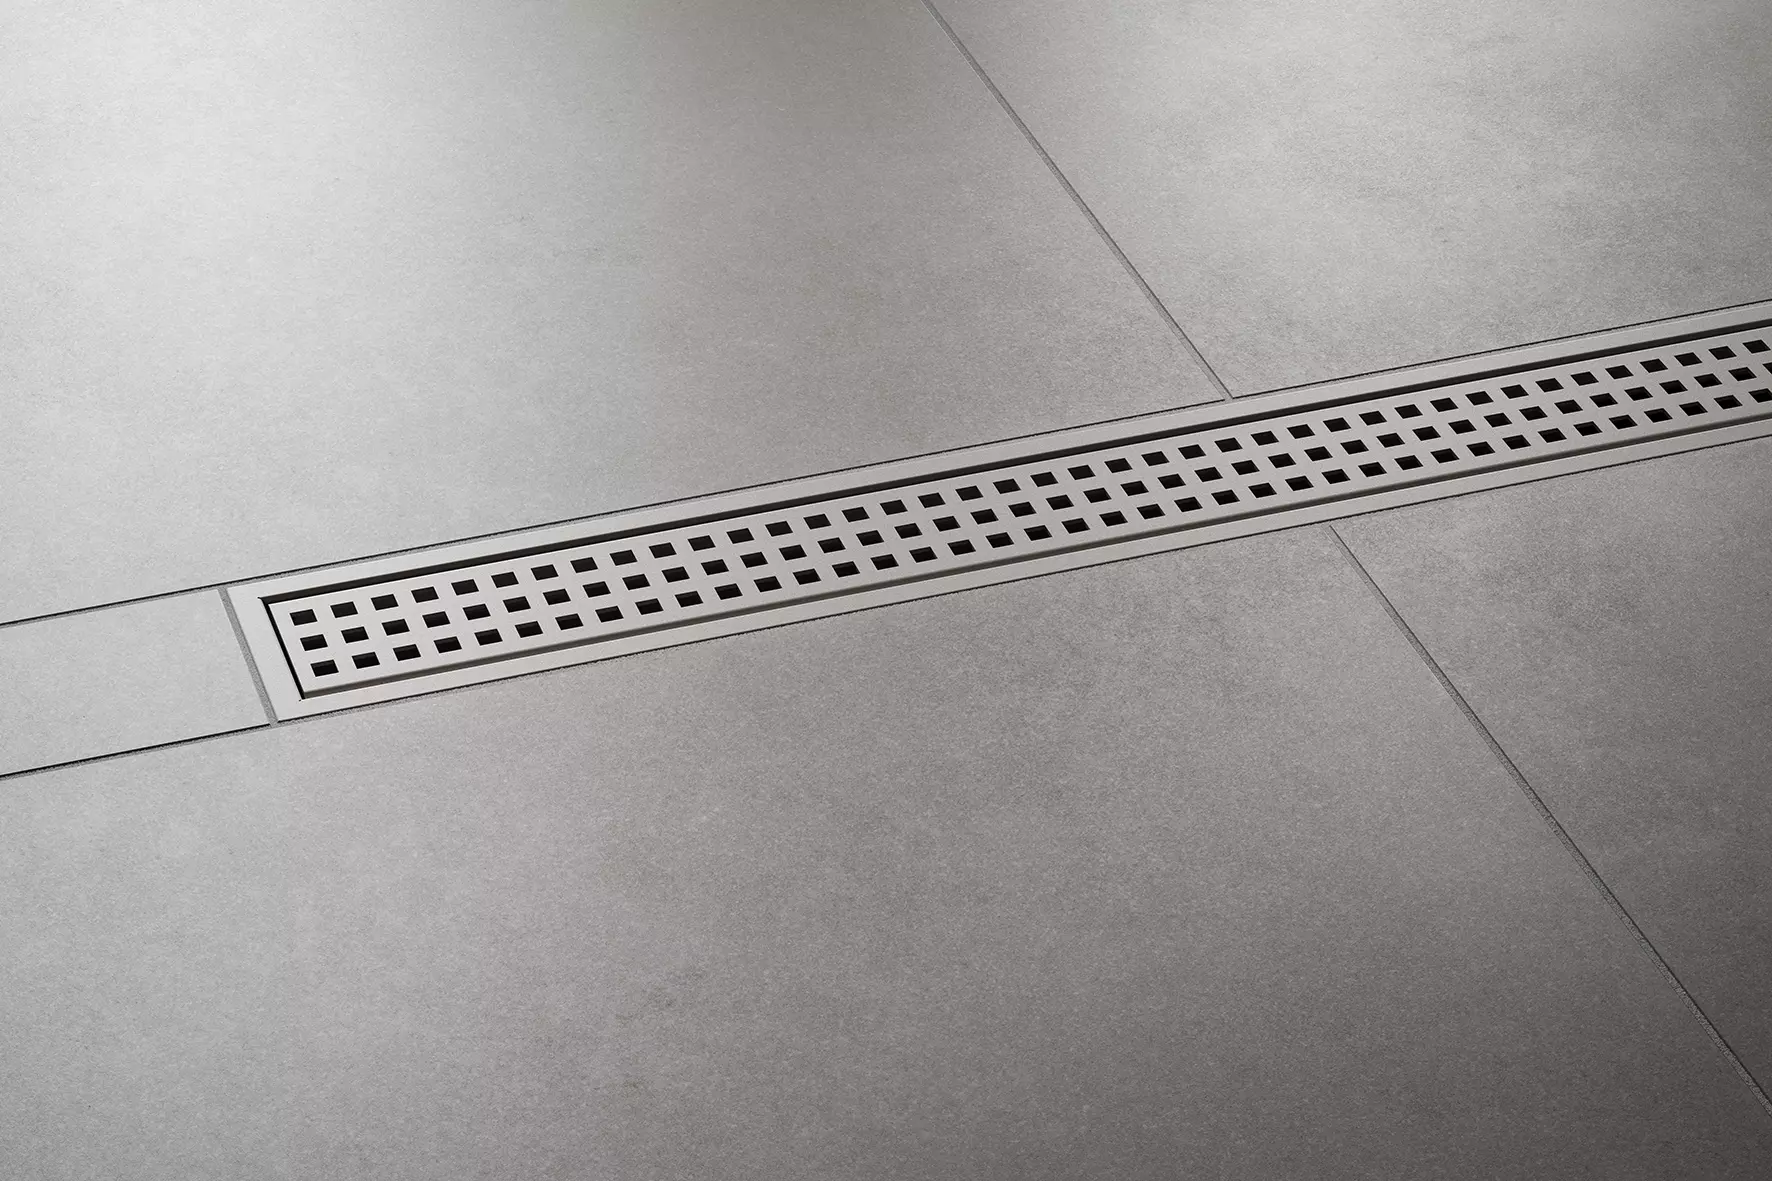
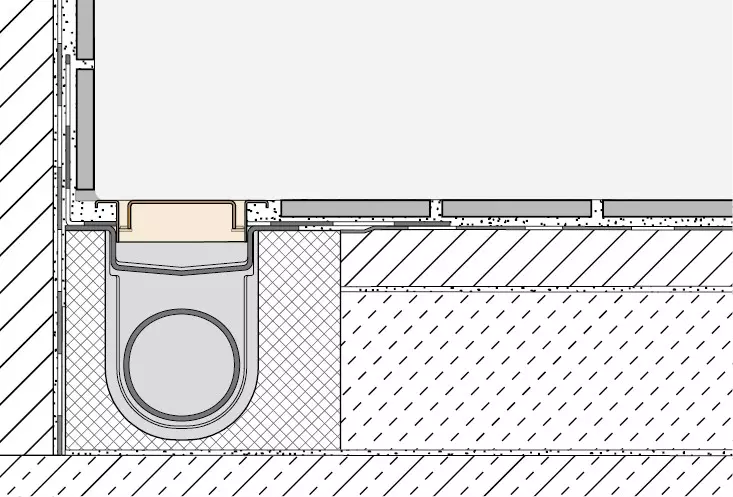
14 lengths from 50 cm to 180 cm, brushed, polished or colour coated stainless steel (TRENDLINE colours): The profile frames with a matching grate in SQUARE design offer a variety of choices and can even be custom engraved at your request. The grate and frame set KERDI-LINE-B can be combined with KERDI-LINE channel bodies. The profile frames seamlessly match the height of coverings in thicknesses from 3 to 25 mm. That also applies to KERDI-LINE-A and -C, which differ by the appearance of the grates. The grate and frame combinations of our KERDI-LINE-STYLE range offer even more unusual designs.

Data sheet
  • My Schlüter-KERDI-LINE
Product image KERDI-LINE-B 1©Schlüter-Systems KG
zoom_out_map search
Cross-section drawing KERDI-LINE-B 1
Product image KERDI-LINE-B 1
Product image KERDI-LINE-B 2


  •  


  •  


  •  


  •  


  •  


  •  


  •  


  •  


  •  


  •  


General product information

How to install this product

Follow the installation steps of the relevent KERDI-LINE linear drainage systems KERDI-LINE-H/ -KERDI-LINE-H 50 G2/ -KERDI-LINE-F/ -KERDI-LINE-V or -KERDI-LINE-V 50 G2 (refer to the products for detailed instructions).

Mounting the frame and grate

  1. Insert the frame with the spacer strip.
  2. Use the height adjustment gauge to install the frame flush with the covering.
  3. Fill the space below the frame with thin-bed tile adhesive and fully embed the covering.
  4. Remove the spacer strip and height adjustment gauge after curing. You are now ready to attach the grate.

Note: Remove the protective foil from profile frame versions with a polished finish before grouting.

Residue of mortar and tile adhesive should be removed immediately.

Note: The use of acetic-crosslinking silicone is not permissible on channels, frames and grates.