Installation on stands/legs:
1. Determine the installation heights.
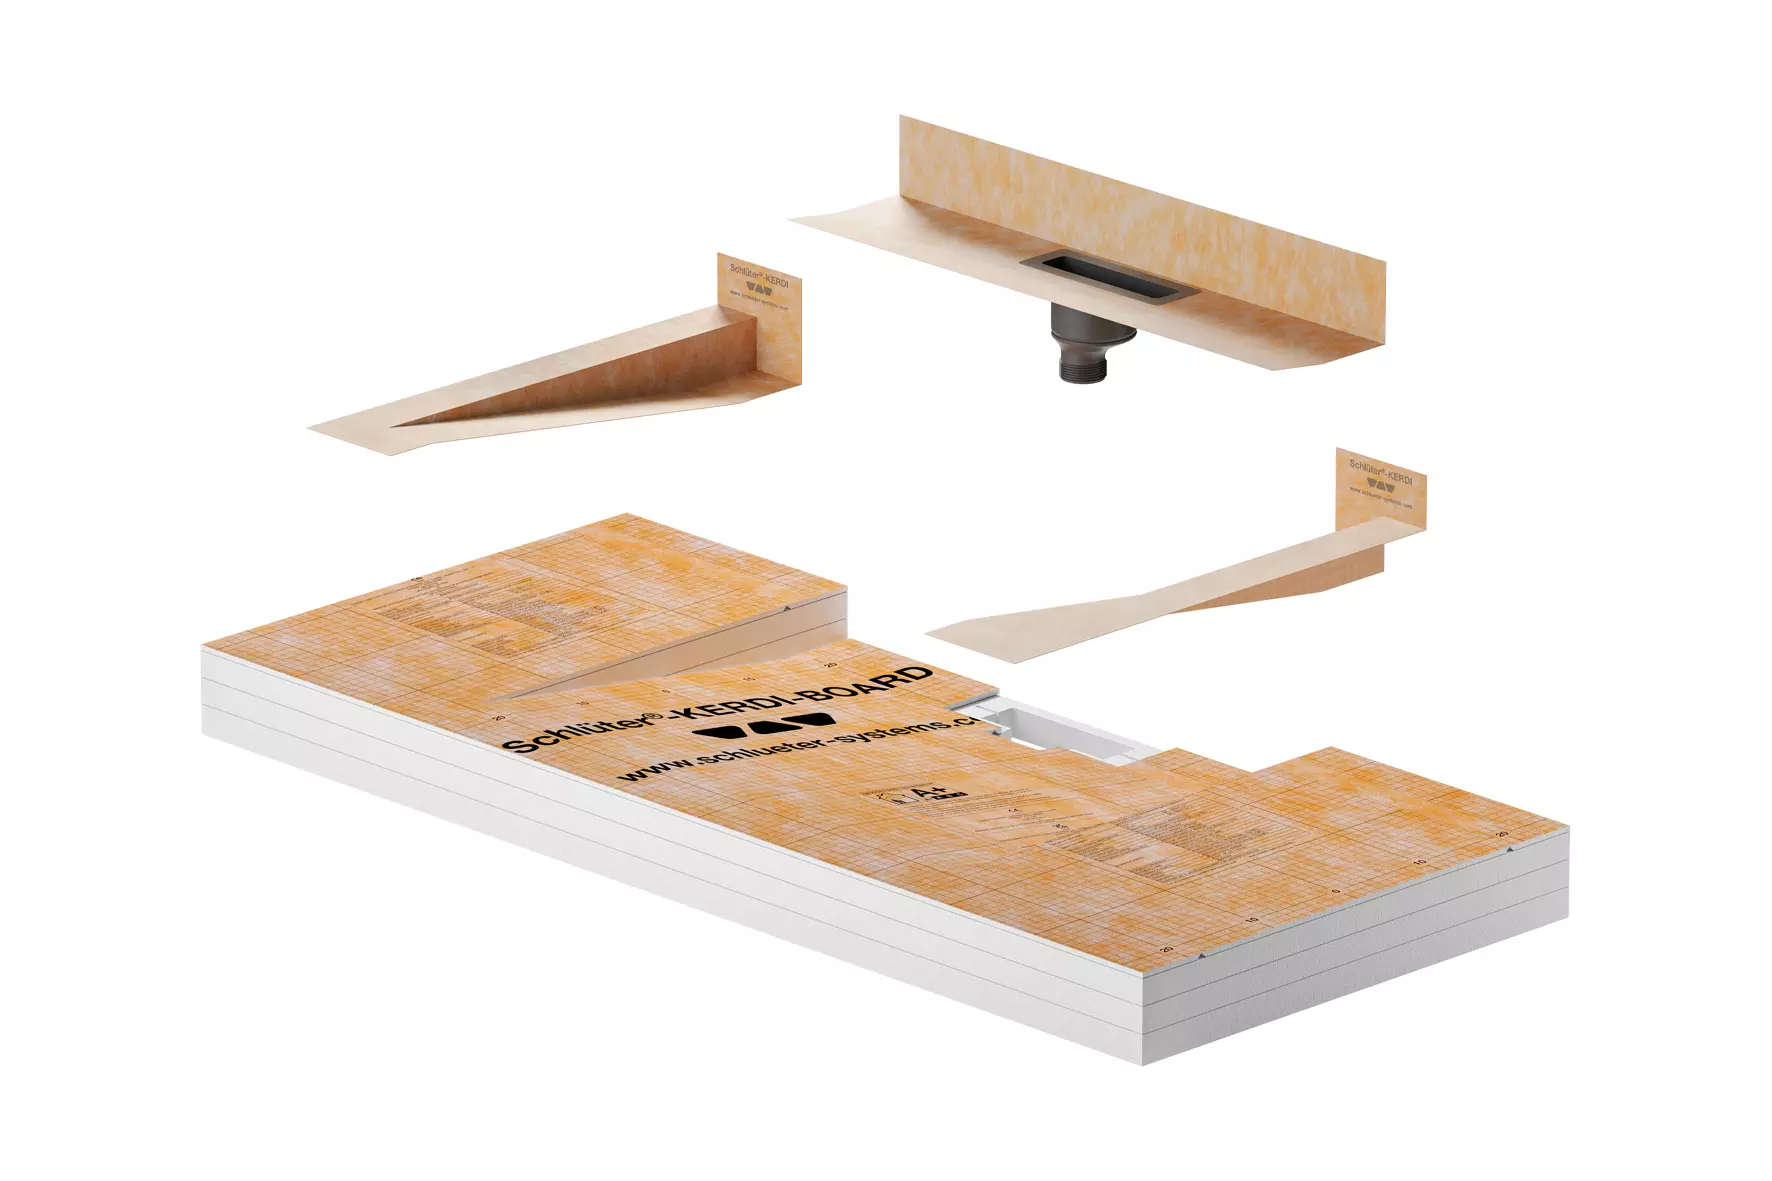
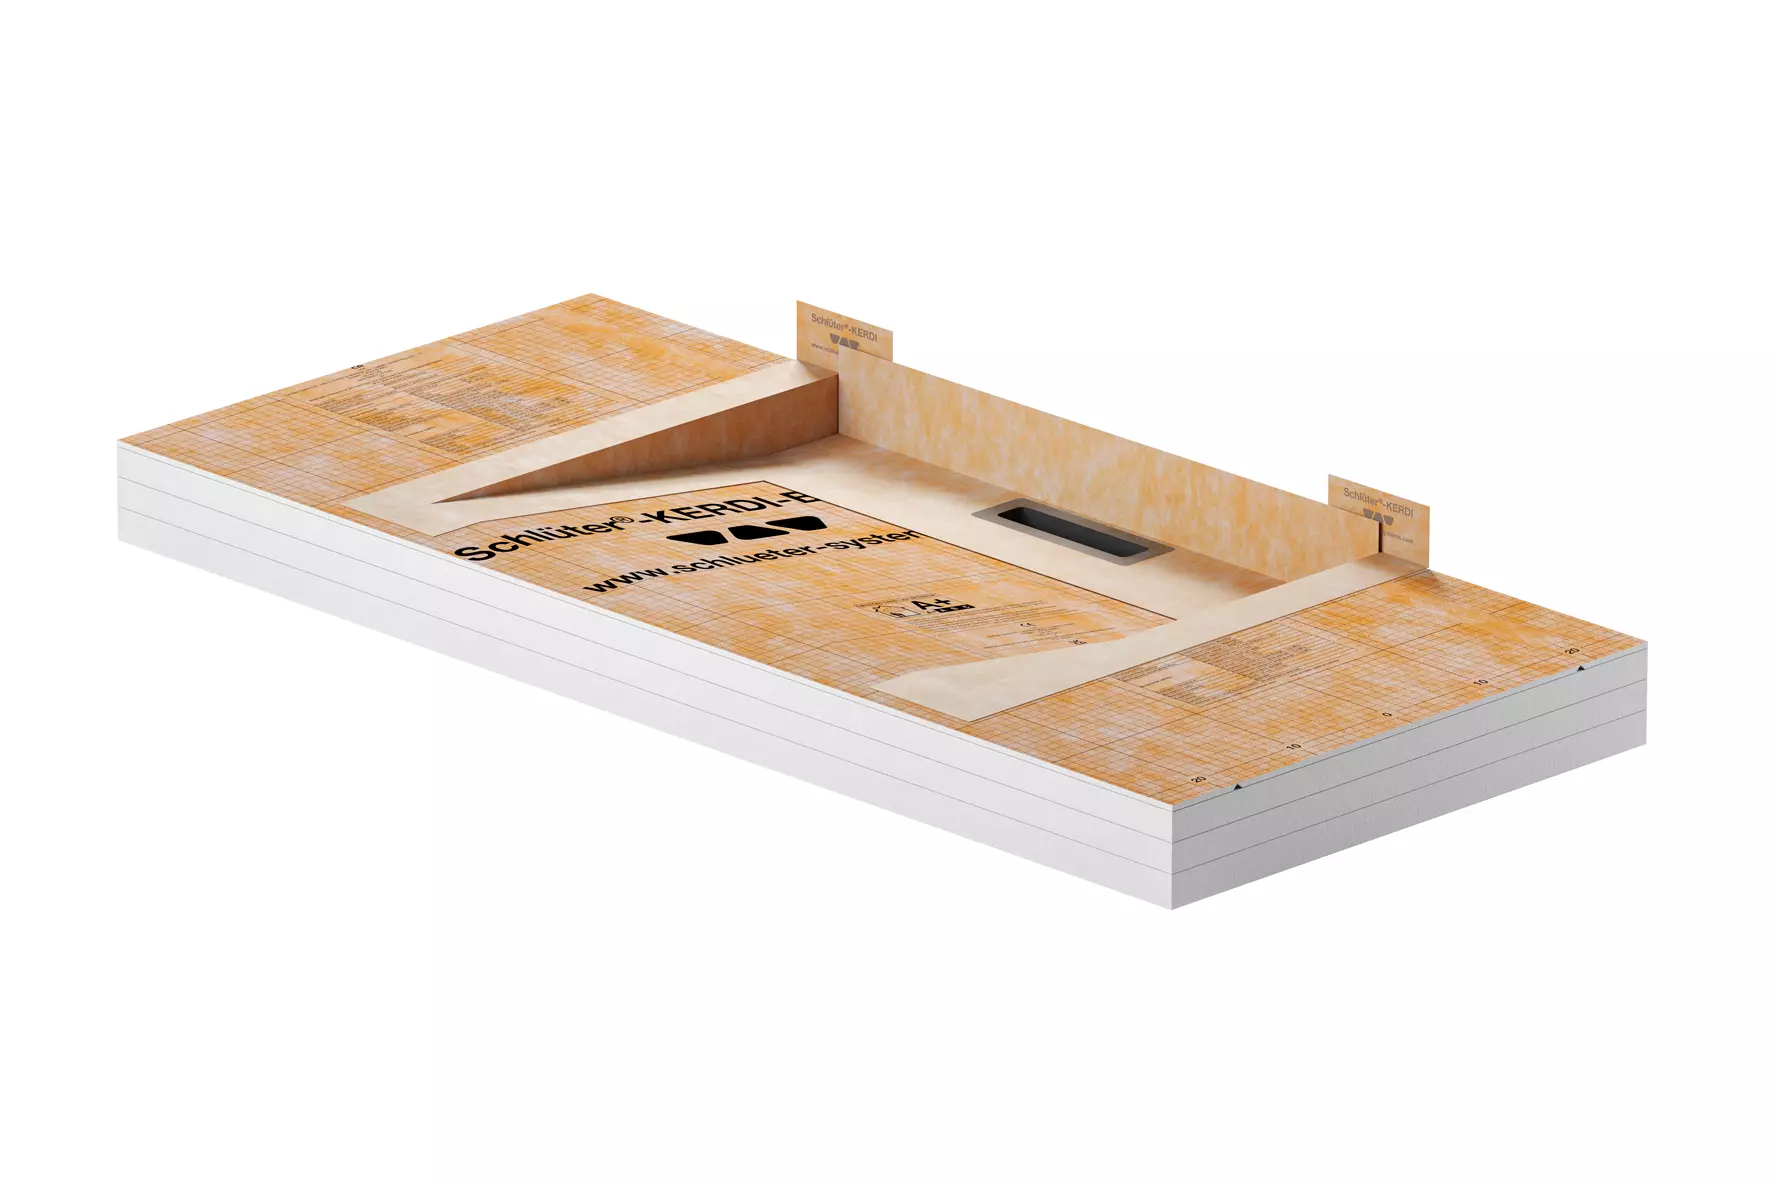
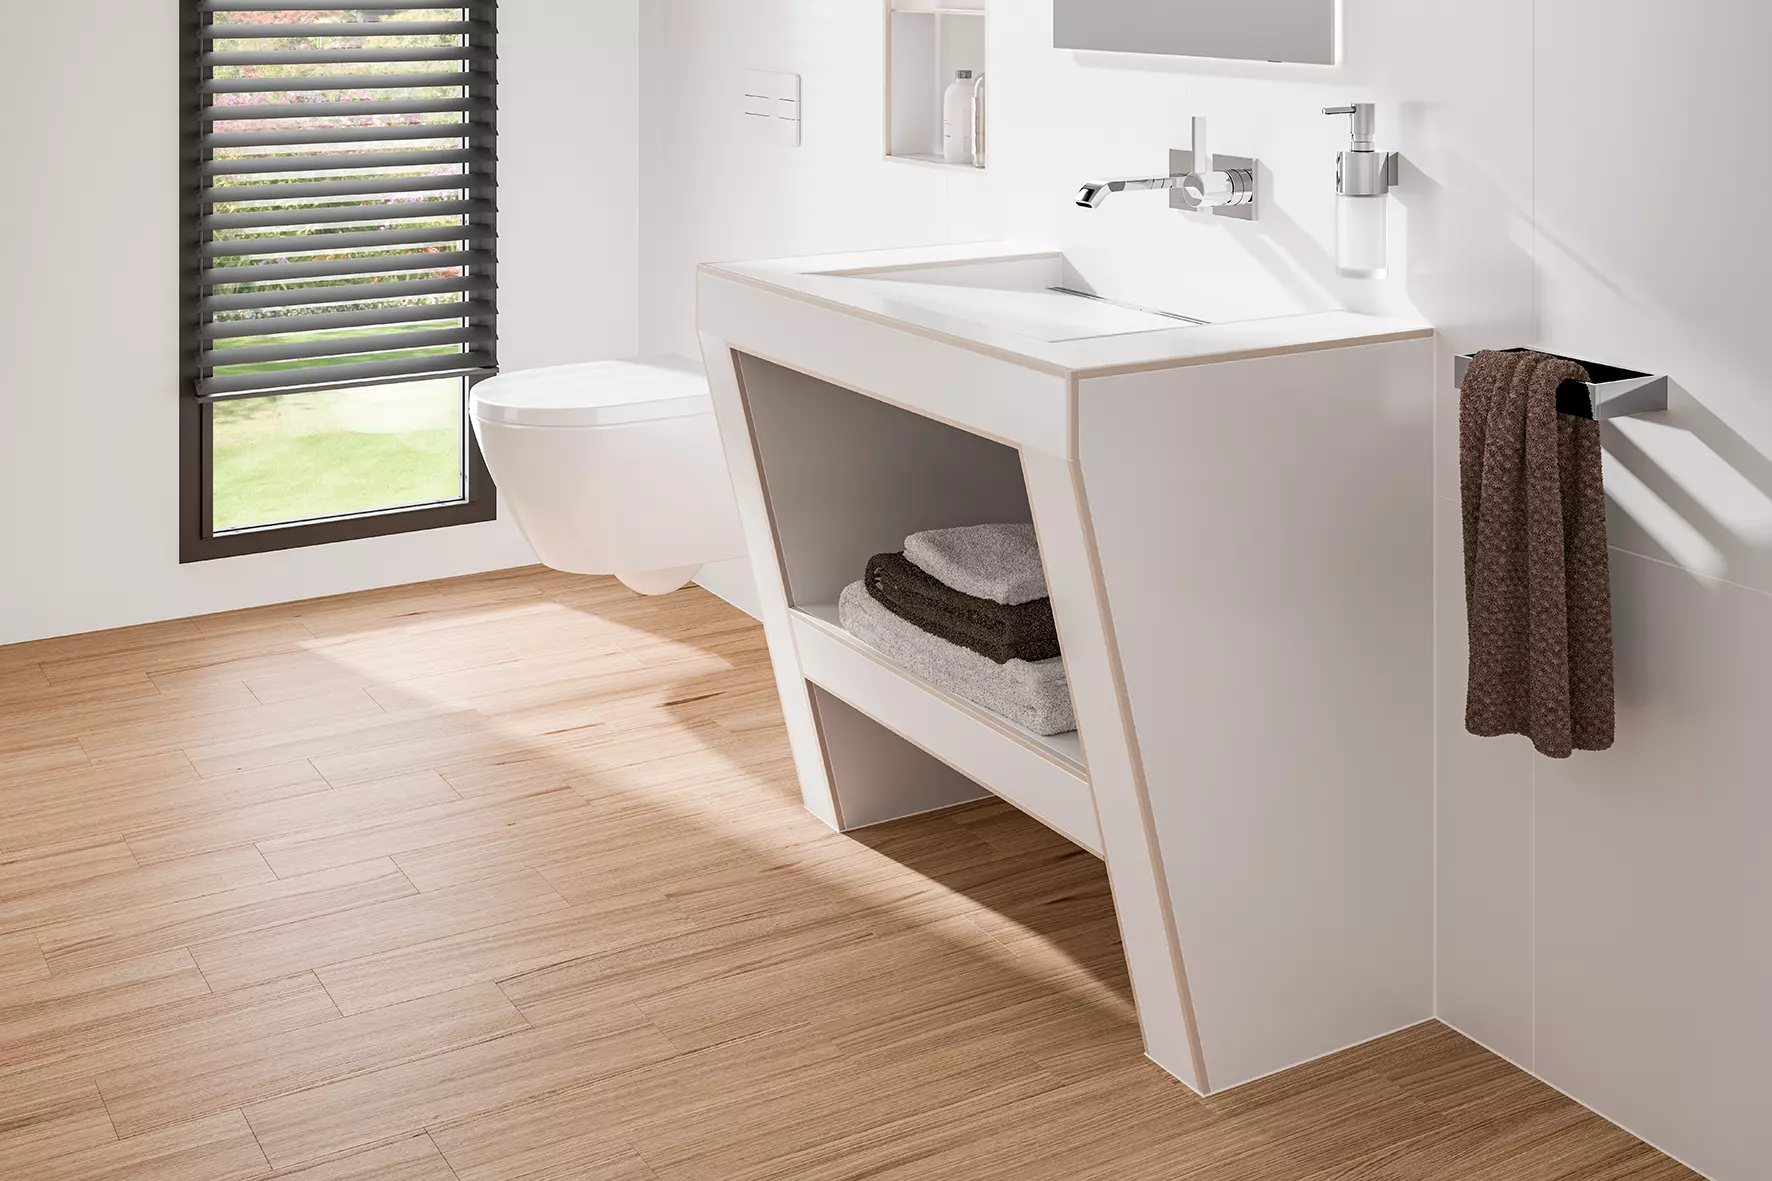
2. The KERDI-BOARD washbasin/vanity unit can be adapted to on-site requirements. For a stand alone installation, use two stands made of KERDI-BOARD in a thickness of at least 50 mm, which can be placed on the left and right to support the washbasin/vanity unit.
3. The use of a commercially available trap is only possible under certain conditions due to the connection being near to the wall. We recommend using a bottle trap or a concealed trap.
4. Bond the components with the installation adhesive Schlüter-KERDI-FIX that is supplied with the set. Insert the supplied filler pieces into the openings.
5. Adhere the KERDI-KERS waterproofing collars included in the set for waterproofing, using the sealing adhesive Schlüter-KERDI-COLL-L (not included). Additionally, seal the drain adapter with KERDI-FIX in the area of the drain opening.
6. If using a stand/leg to support one end of the washbasin/vanity unit and an angle profile to support the other end make sure the angle profile is 520mm long x at least 20mm.
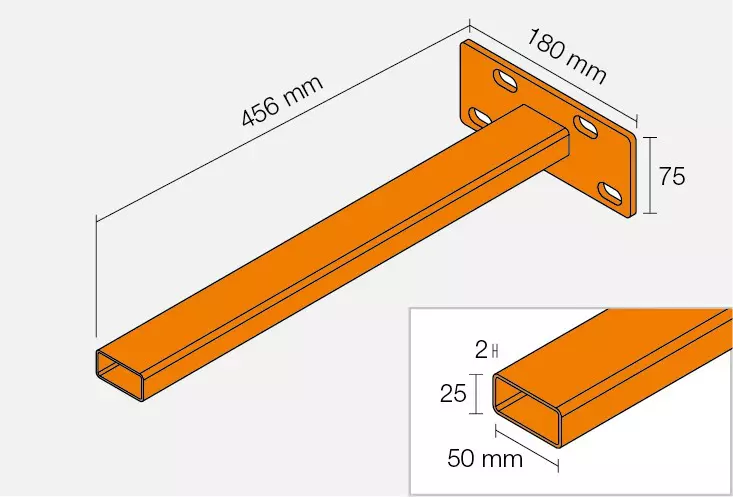
Floating installation of KERDI-BOARD washbasin/vanity unit with optionally available wall brackets:
Caution: The installation wall substrate must be level, even and suitable for sufficient load transfer.
1. The KERDI-BOARD washbasin/vanity unit can be individually adapted to on-site conditions.
2. Mark the drilling holes with the supplied drilling template.
3. Apply a sufficient amount of KERDI-FIX to the back of the vanity unit and slide it onto the wall brackets KBWAB450 to create a firm connection with the wall.
4. Adhere the KERDI-KERS waterproofing collars included in the set for waterproofing, using the sealing adhesive KERDI-COLL-L (not included). Seal the drain adapter with KERDI-FIX in the area of the drain opening.
Installation of drainage profiles
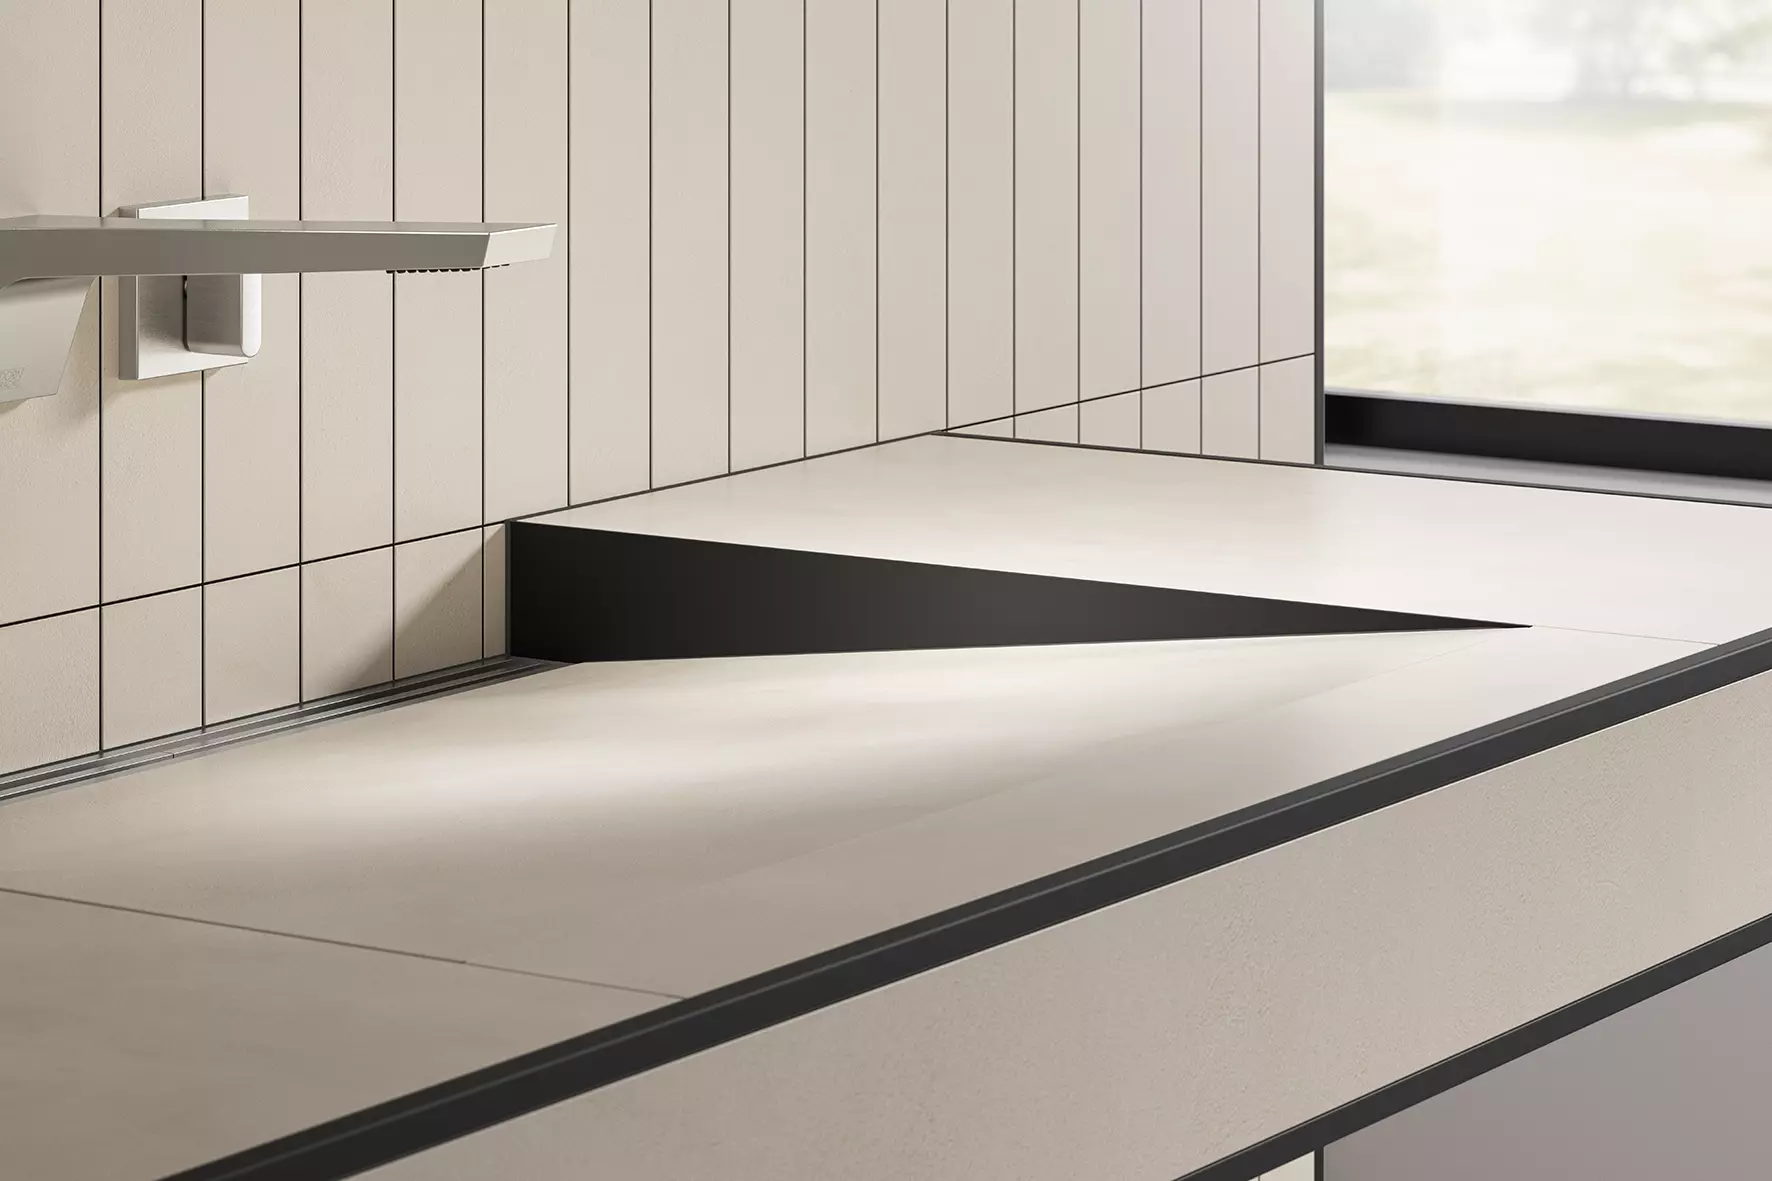
1. Cut the drainage profile to size with a suitable handsaw to match the structural requirements on site, using the supplied cutting gauge (do not use an angle cutter) and de-burr the cu.
2. The set includes two end caps to create a simple and elegant finish.
3. The aluminium profiles COVE 26 and WAVE 34 come with a cover frame, which is fitted precisely over the drain adapter in advance, using thin-bed tile adhesive.
4. Adjust the height of the drainage profile by filling with thin-bed tile adhesive in such a way that it is flush with or just slightly below the covering surface. For optimum load transfer, make sure to avoid all cavities when embedding the drainage profile with mortar, particularly in the area of the drain opening. Note: KERDI-LINE-VARIO can also be installed in suspended timber floor substrates. Please contact us for further details. KERDI-LINE-VARIO drainage profiles are intended for positioning in the wall and intermediate floor areas and should not be installed near the entry of the shower area. Please contact our Technical Department with any questions you may have.


