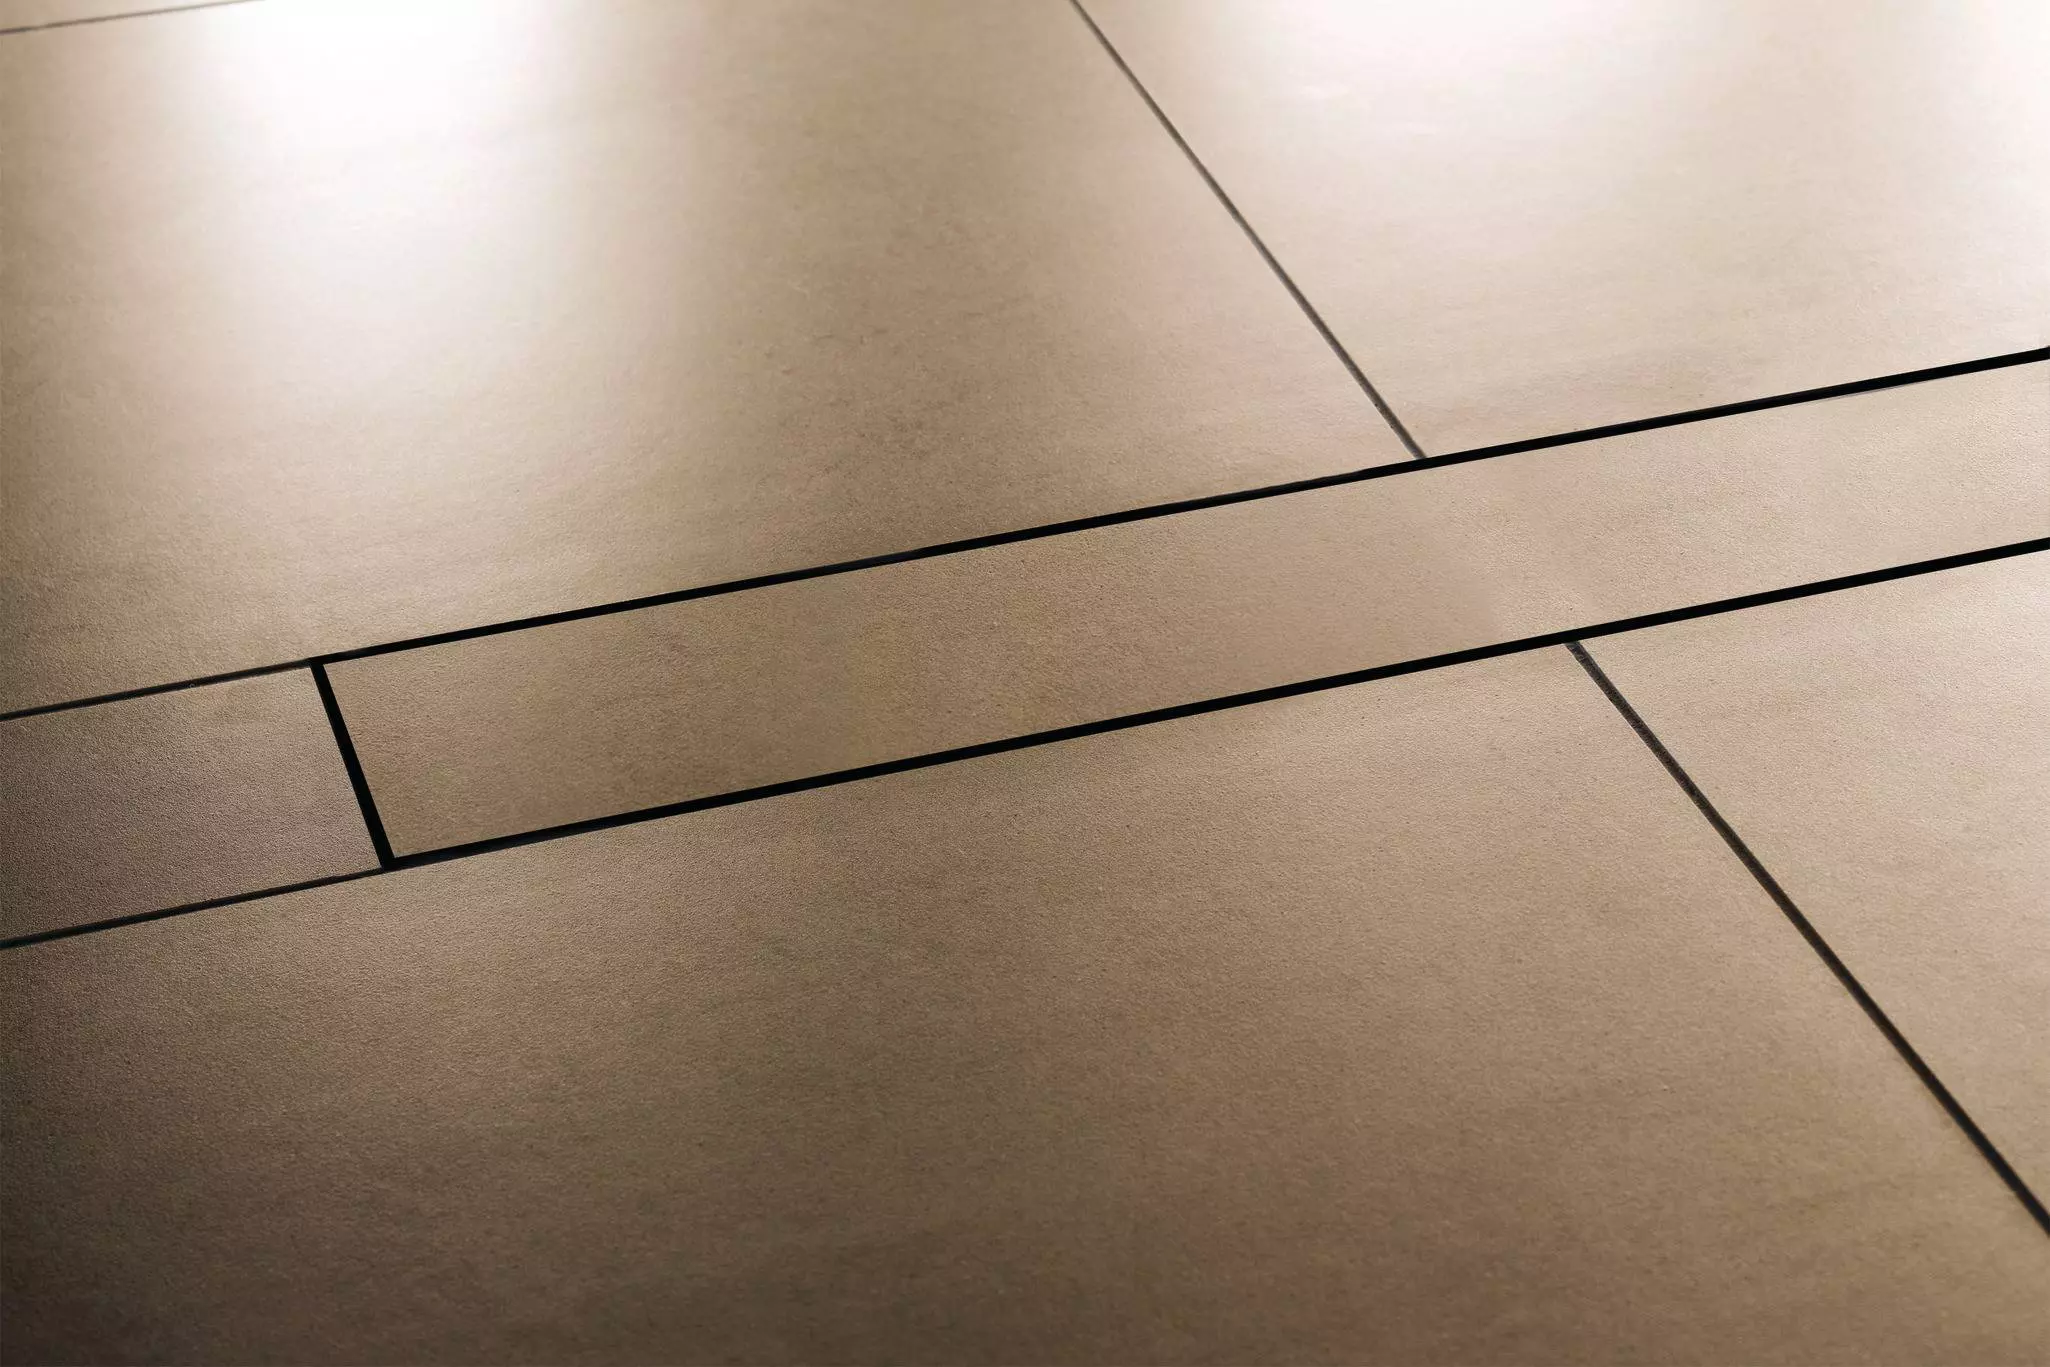
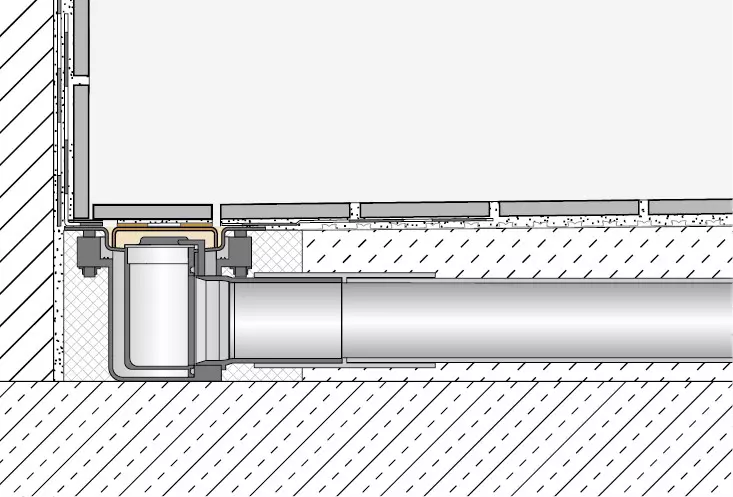
The stainless steel frames and grates are available in the following material version:
- V4A, material no. 1.4404 = AISI 316L.
Finish options of profile frames and grates:
- EB = brushed stainless steel
- EP = polished stainless steel
- EC = stainless steel, powder coated
Material properties and areas of application
The channel bodies, frames and grates are classified as K3 according to DIN EN 1253, Gullies for buildings. This class refers to areas without vehicle traffic, e.g. wetrooms in apartments, nursing homes, hotels, schools, and public washroom and shower facilities.
Channel bodies, frames and grates are suitable for wheelchair traffic.
KERDI-LINE in the brushed stainless steel V4A version (material no. 1.4404 = AISI 316L) is especially suitable for applications requiring resistance against chemical exposure and high mechanical stresses.
Even stainless steel of quality 1.4404 is not resistant to all chemical stresses such as hydrochloric and hydrofluoric acid or certain chloride and brine concentrations.
In certain cases, this also applies to seawater pools. The suitability of a proposed floor drain system must be verified based on the anticipated chemical, mechanical and/or other stresses. Aggressive cleaning products should not be used.
The profile frames as well as the matching stainless steel grates A, B and C are also available with a textured finish. These are surfaces with a natural appearance. The stainless steel is pre-treated, then powder-coated with a polyurethane covering. The colour-stable coating is UV and weather-resistant. Surface areas must be protected against abrasion or scratching.


