Schlüter-DILEX-BT/OT  Support profile of the structural movement profile

Schlüter-DILEX-BT/OT is the wall support profile of the structural movement joint and can be combined with Schlüter-DILEX-BT/MT and -RENO-VT in any length.


  • Foot traffic
  • Shopping carts
  • Cars
  • Pallet trucks
Product image DILEX-BT/OT 1©Schlüter-Systems KG
Cross-section drawing DILEX-BT/OT 1©Schlüter-Systems KG
zoom_out_map search
Product image DILEX-BT/OT 1
Cross-section drawing DILEX-BT/OT 1

General product information

What this product does

Schlüter-DILEX-BT/OT is a maintenance free wall support profile made of aluminium. The profile is designed to be set in the adhesive below ceramic tile or natural stone coverings as a lateral support leg. The support profile can be combined with the sliding telescopic centre section DILEX-BT/MT and the floor support profile RENO-VT.

How to install this product

  1. Select Schlüter-DILEX-BT according to the tile thickness.
  2. Apply tile adhesive to the area where the tile covering will end, using a notched trowel.
  3. Press the perforated anchoring legs of DILEX-BT into the tile adhesive and align.
  4. Trowel additional tile adhesive over the trapezoid perforated anchoring leg to ensure full coverage.
  5. Firmly align the adjoining tiles in such a way that the upper profile edge is flush with the tile (profile should not protrude over the surface of the covering; preferably, it should be approx. 1 mm below the top level of the covering). Full coverage must be obtained between the tile and the profile’s anchoring leg. Always adjoin the uncut tile edge to the profile.
  6. The tile is set to the lateral joint spacer, which creates an evenly spaced joint of 1.5 mm.
  7. Completely fill the space between the tile and the profile with grout and immediately remove the protective foil.
  8. If installing the profile in a screed layer, start by creating mortar strips in a matching height and separated by an insulation strip on both sides of the structural movement joint.
    1. Then apply a contact layer of dry-set adhesive or a cement slurry to the mortar strips.
    2. Install DILEX-BT on the contact layer, align it and tap it in place.
    3. Then install the screed such that the surface of the covering is flush with the upper edge of the profile. Select the profile height to ensure that the anchoring leg is covered by about 15 mm of screed.
  9. The installation of DILEX-BT in walls or ceilings follows an analogous process.

What this product is made from

The profile is available in the following materials:

  • A = aluminium
  • AE = anodised aluminium

Material properties and areas of application

The suitability of a proposed profile type must be verified based on the anticipated chemical, mechanical and/or other stresses.

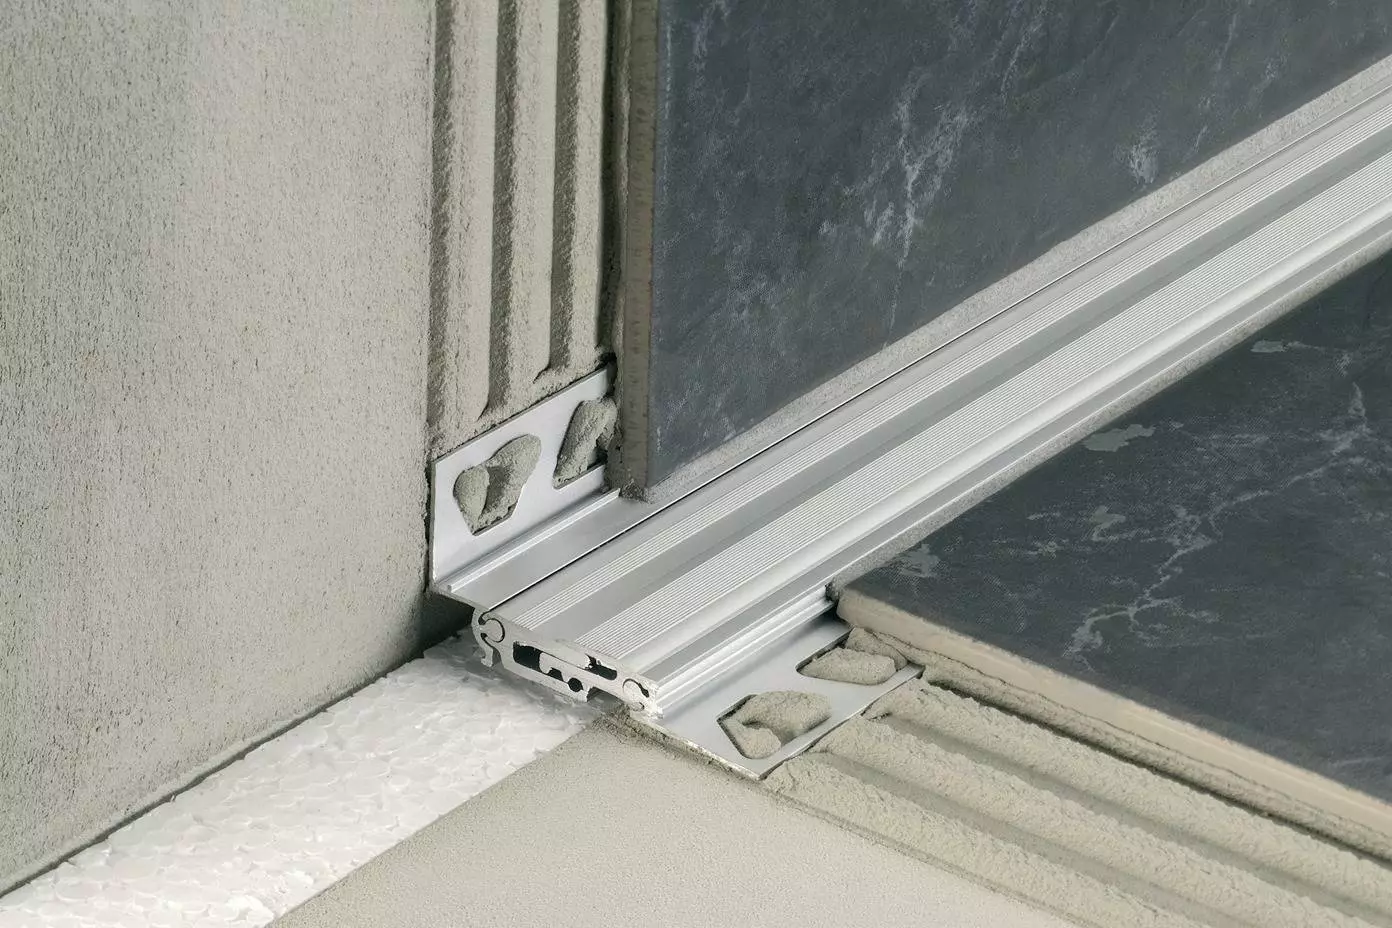
Schlüter-DILEX-BT/OT is made of aluminium and must be tested to verify its suitability if chemical exposure is expected. Aluminium is sensitive to alkaline media. Cementitious materials, in conjunction with moisture, become alkaline. Since aluminium is sensitive to alkaline substances, exposure to the alkali (depending on the concentration and time of exposure) may result in corrosion (aluminium hydroxide formation). Adhesive or grout residue must therefore be removed immediately from visible surfaces.

DILEX-BT/OT in the anodised aluminium version has an anodised surface finish that will not change under normal circumstances.

The surface, however, must be protected from abrasion. Tile adhesive, mortar and grout can scratch the surface of the profile; therefore, any residue must be removed immediately. Otherwise, the description regarding aluminium applies.

How to look after this product

Schlüter-DILEX-BT/OT requires no special maintenance or care. Oxidation films on aluminium may be removed with a common polishing agent; however, they do reoccur. Damage to the anodised surfaces can be restored with paint.

Downloads