-
Please choose the suitable floor plan of your terrace.


Please enter the dimensions for the selected floor plan.
This data generated by the configuration tool is intended for guidance only. This information is issued without warranty. Users are responsible for verifying all generated results and matching them to actual requirements.
-
Please enter the dimensions of the pavers you want to install.
-
Please enter the desired height of the finished floor as the distance between the upper edge of the substrate to the upper edge of the covering at the corner points of the floor plan (see drawing). Note the position of the house wall.

-
Please specify whether to include a drain within the balcony or terrace area in the calculation. If yes, please enter the position and height of the drain. The position is the distance of the drain's centre to the edge of the balcony or terrace. The height is the distance of the upper drain edge to the upper edge of the covering.Due to the complexity of the drain calculation, the forms "T", "L" and "U" cannot be considered at the moment.
Outlet
Einen weiteren Ablauf hinzufügen -
Please select the desired installation type and the angle. Then specify the starting point, from which the installation is to begin.
Starting point
Caution! A paver support is located on the outlet. Please keep in mind for further planning.
-
Legend

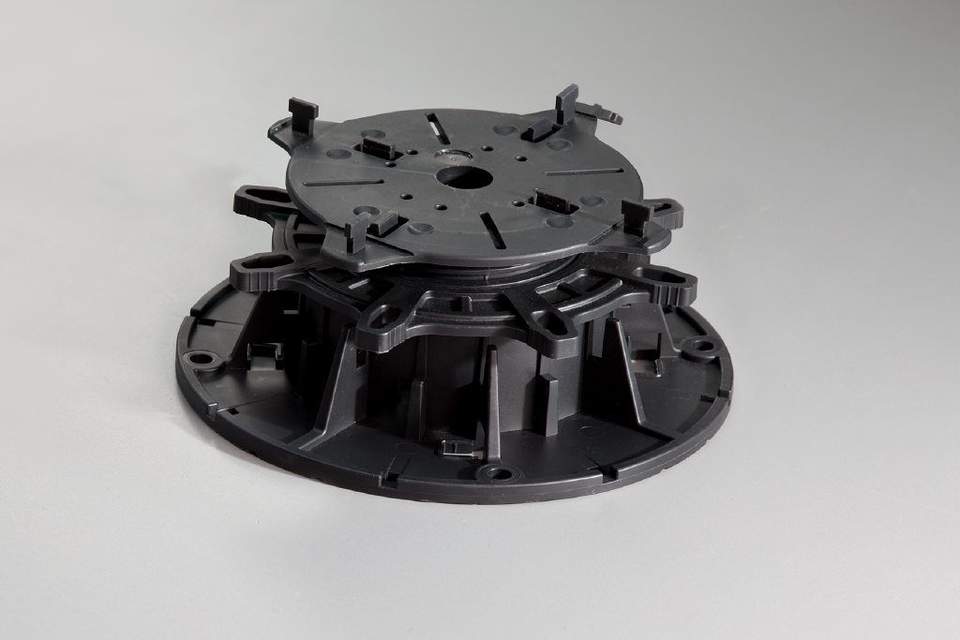
Paver supports 
Paver support, spacing too small 
Outlet 
Full paver 
Cut paver Please check your entries and correct them in the respective tabs if necessary.
Area m² Paver dimensions (W x L x H) cm x cm x cm Number of full pavers Number of cut pavers Number of support points
Options
Only stackable products are suitable. This solution generally results in higher material costs, and may result in a quicker installation.
The covering may shift horizontally due to external factors and may tilt in places. Adaptive connectors can prevent tilting. To this end, every paver support point must be capped with TROBA-LEVEL-PL 10.
Exclusively stacked supports have a smaller base area. Depending on the load, it may be helpful to use additional load distribution disks with a larger base area to protect the substrate.
Special protection for the substrate or the waterproofing assembly can be implemented in spots or over the full area.Result
Based on the estimated calculation of the most economical product combinations, you will require the following products for your project. If desired, you may replace the calculated unit numbers with values of your own.
Photo Product information Number of units (calculated) Ordering quantity Ordering unit Individual price Total price 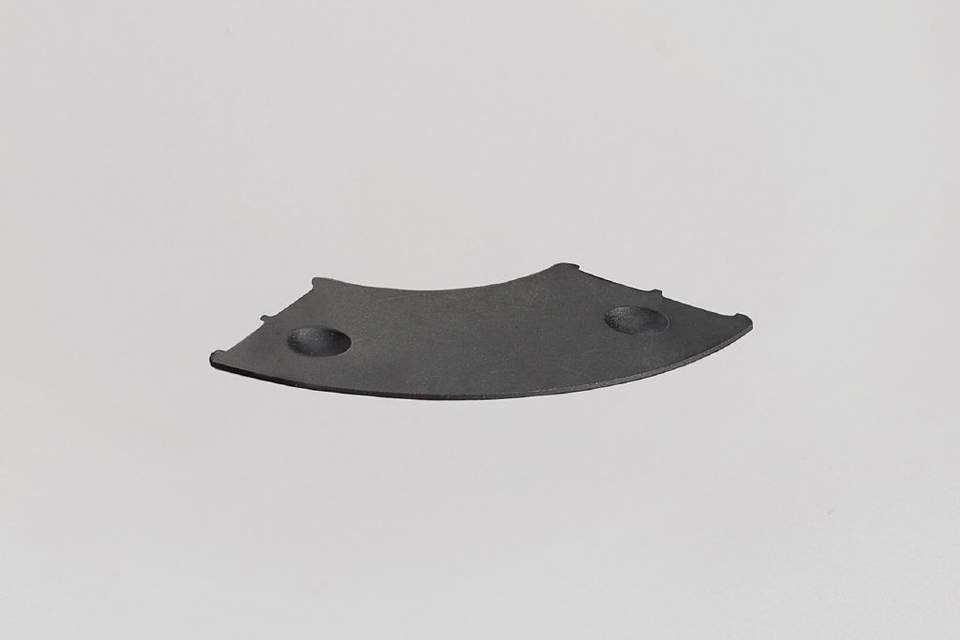
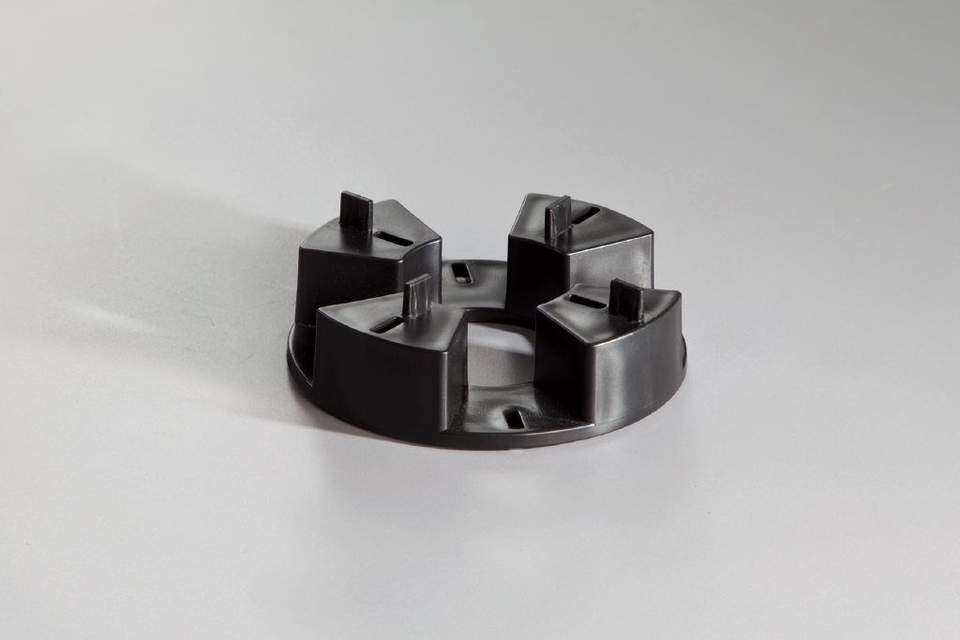
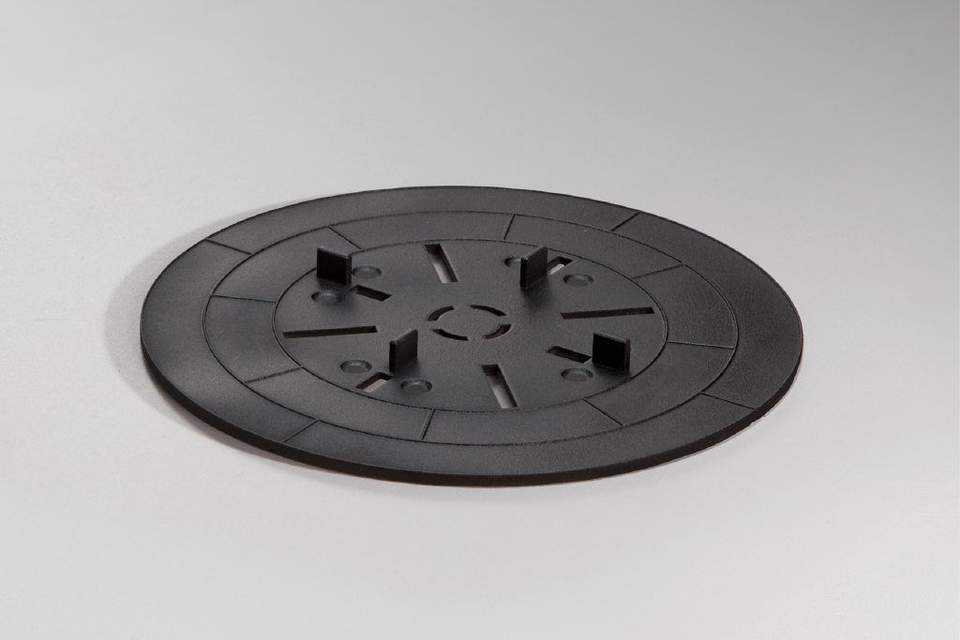
TROBA-LEVEL-AP 1
Item no.: TLAP1
Packaging unit:
8 Packages
Packages = 250 units
units
£ £ 
TROBA-LEVEL-PL 10
Item no.: TLPL10
Packaging unit:
100 units
units
£ £ 
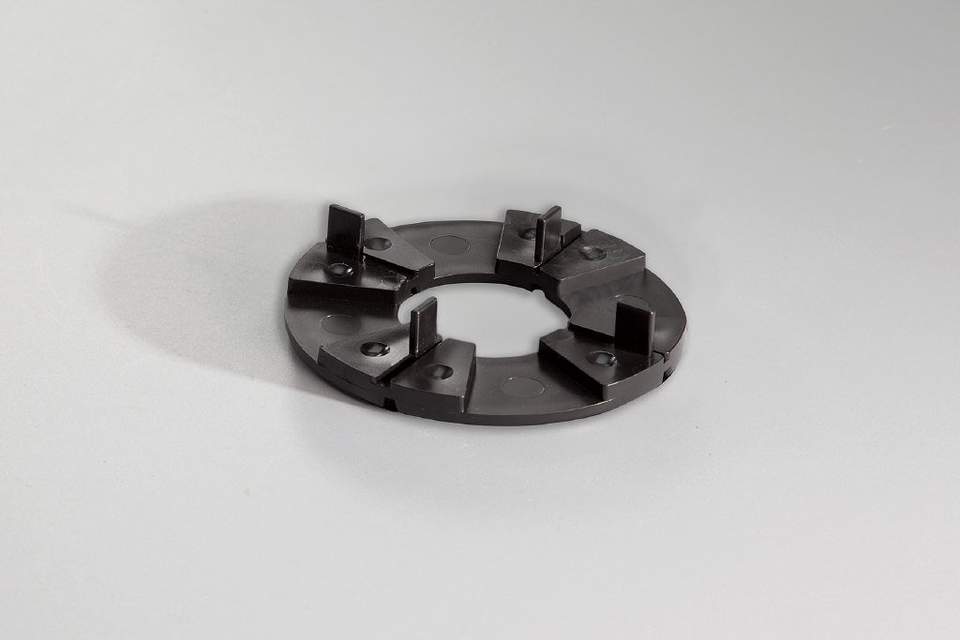
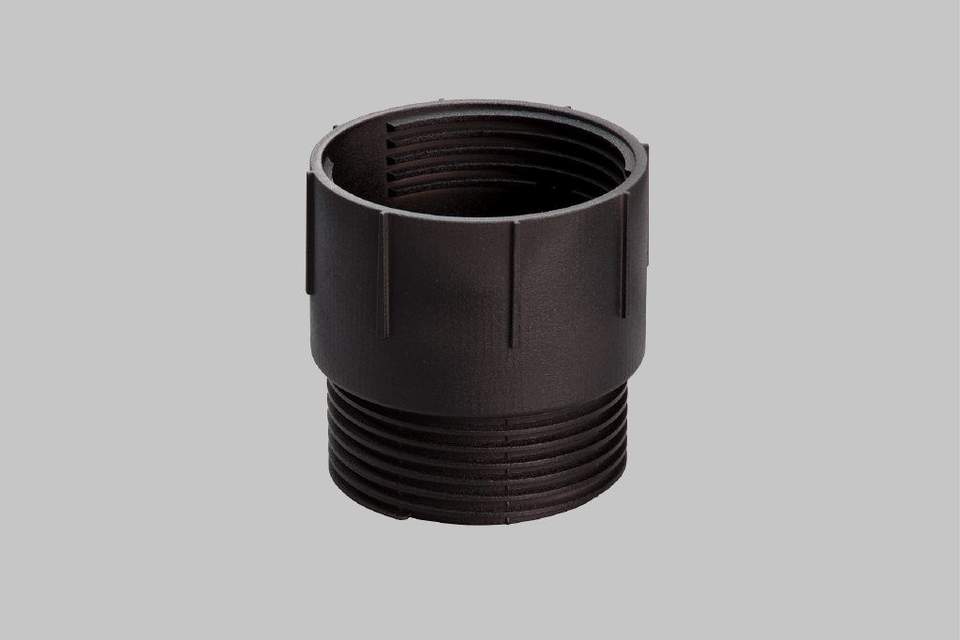
TROBA-LEVEL-PLA 30
Item no.: TLPLA30
Packaging unit:
52 units
units
£ £ 
TROBA-LEVEL-PLV 60
Item no.: TLPLV60
Packaging unit:
48 units
units
£ £ 
TROBA-LEVEL-LV 3
Item no.: TLLV3
Packaging unit:
100 units
units
£ £ 
TROBA-LEVEL-PLS 6
Item no.: TLPLS6
Packaging unit:
1 Packages
Packages = 10 units
units
£ £ 
TROBA-LEVEL-PLA 70
Item no.: TLPLA70
Packaging unit:
30 units
units
£ £ Total price: £ This data generated by the configuration tool is intended for guidance only. This information is issued without warranty. Users are responsible for verifying all generated results and matching them to actual requirements.